
InBox Newsletter
Versão 6.0.2 Data de Criação 16/05/2019
Resources
This module provides email sending to one or more users at the configured or current time.
Prerequisites
Framework
The following versions of the OTRS framework are supported:
- [6.0.x]
Modules
Os seguintes módulos são requeridos:
- InBox Core 6.30.8 or higher
Operating system
The following operating systems are required:
- [None]
Third-Party Software
The following third-party software is required:
- [None]
Preinstallation
Necessary, in some cases where the module is not installed correctly, run "SetPermissions":
/opt/otrs/bin/otrs.SetPermissions.pl --web-group=apache --otrs-user=otrs /opt/otrs
Installation
bin/otrs.Console.pl Admin::Package::Install /path/to/InBox\ Newsletter-6.0.2.opm
Configuration
This module can be configured via System Configuration in the administrative interface. The following configuration options are available:
Set up the time zone
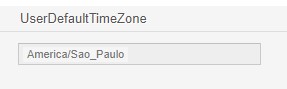
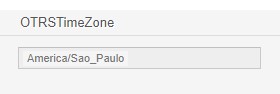
You must set the OTRS "TimeZone" to "America/Sao_Paulo". To do this, go to "> System Configuration Administration" and search for "OTRSTimeZone" and select the "America/Sao_paulo" option. Then go back to "> System Configuration Administration" and search for "UserDefaultTimeZone" and select the same option:
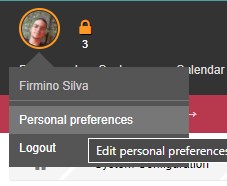
Once the above settings have been made, click on your photo in the top menu of the screen and click on "Personal Preferences":
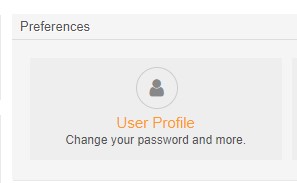
After, click "User Profile":
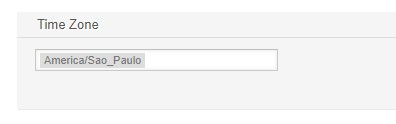
Finally, edit the "Time Zone" setting for "America/Sao_Paulo":
Set up sending email
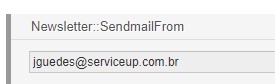
Go to > Configuration Administration and search for "Newsletter::SendmailFrom". After loading the page, enter the shipping email address:
Enable or disable Newsletter Invalidate option
This option allows the newsletter to run more than once or not.
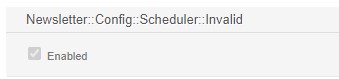
Go to > Configuration Administration and search for "Newsletter::Config::Scheduler::Invalid". After loading the page, enable or disable the option to invalidate the newsletter:
Choose Queue
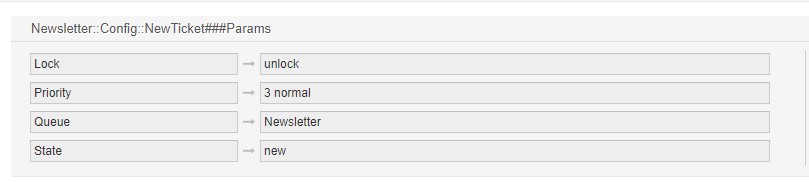
Go to > Configuration Administration and search for "Newsletter::Config::NewTicket###Params". After loading the page, configure the parameters for the Newsletter to select your desired queue:
Use
Using module
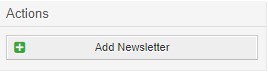
Go to > And Search for "Manage Newsletter". When uploading the screen, click "Add Newsletter":
The module makes use of Templates for sending the email. You can add new templates, so click "Add Template" in the upper-left corner of the screen:
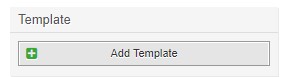
Note: Only Newsletter templates are accepted, so the other template types will not appear in the Newsletter interface.
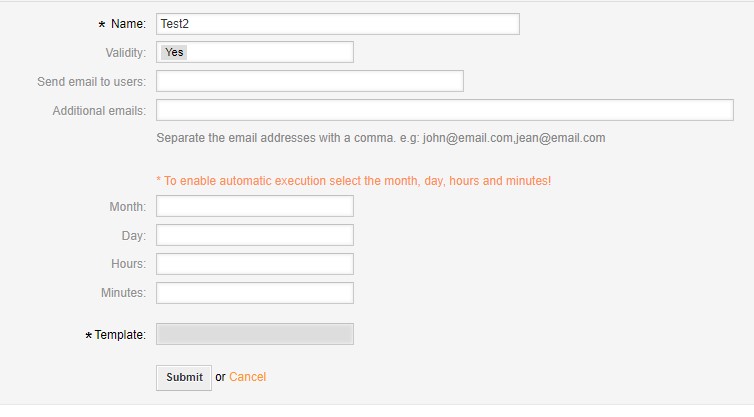
To edit the newsletter registration, just click on your name in the "NAME" column, located in the Newsletter List:

To delete the newsletter registration, just click "Delete" in the "DELETE" column, located in the Newsletter List:

You can force email to be sent at the current time. To do this, click "Run" in the "SEND NOW" column, located in the Newsletter List:

After sending the email, your name will be invalidated and the date and time of the time it was sent will appear in the "LAST SEND" column, located in the Newsletter List:
